FAQs
Q1: How does hwameistor-scheduler work in a Kubernetes platform?
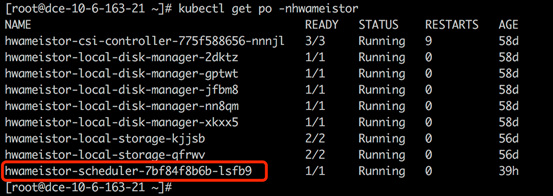
The hwameistor-scheduler is deployed as a pod in the hwameistor namespace.

Once the applications (Deployment or StatefulSet) are created, the pod will be scheduled to the worker nodes on which HwameiStor is already configured.
Q2: How to schedule applications with multi-replica workloads?
This question can be extended to: How does HwameiStor schedule applications with multi-replica workloads and how does it differ from traditional shared storage (NFS/block)?
To efficiently schedule applications with multi-replica workloads, it's highly recommended to use StatefulSet.
StatefulSet ensures that replicas are deployed on the same worker node as the original pod.
It also creates a PV data volume for each replica. If you need to deploy replicas on different
worker nodes, manual configuration with pod affinity is required.

It is recommended to use a single pod for deployment because the block data volumes can not be shared.
Q3: How to maintain a Kubernetes node?
HwameiStor provides the volume eviction/migration feature to keep the Pods and HwameiStor volumes' data running when retiring/rebooting a node.
Remove a node
Before you remove a node from a Kubernetes cluster, the Pods and volumes on the node should be rescheduled and migrated to another available node, and keep the Pods/volumes running.
Follow these steps to remove a node:
Drain node.
kubectl drain NODE --ignore-daemonsets=true. --ignore-daemonsets=trueThis command can evict and reschedule Pods on the node. It also automatically triggers HwameiStor's data volume eviction behavior. HwameiStor will automatically migrate all replicas of the data volumes from that node to other nodes, ensuring data availability.
kubectl get localstoragenode NODE -o yamlThe output may look like:
apiVersion: hwameistor.io/v1alpha1
kind: LocalStorageNode
metadata:
  name: NODE
spec:
  hostname: NODE
  storageIP: 10.6.113.22
  topogoly:
    region: default
    zone: default
status:
  ...
  pools:
    LocalStorage_PoolHDD:
      class: HDD
      disks:
      - capacityBytes: 17175674880
        devPath: /dev/sdb
        state: InUse
        type: HDD
      freeCapacityBytes: 16101933056
      freeVolumeCount: 999
      name: LocalStorage_PoolHDD
      totalCapacityBytes: 17175674880
      totalVolumeCount: 1000
      type: REGULAR
      usedCapacityBytes: 1073741824
      usedVolumeCount: 1
      volumeCapacityBytesLimit: 17175674880
      ## **** make sure volumes is empty **** ##
      volumes:
  state: Ready
At the same time, HwameiStor will automatically reschedule the evicted Pods to the other node which has the associated volume replica, and continue to run.
Remove the NODE from the cluster.
kubectl delete nodes NODE
Reboot a node
It usually takes a long time (~10 minutes) to reboot a node. All the Pods and volumes on the node will not work until the node is back online. For some applications like DataBase, the long downtime is very costly and even unacceptable.
HwameiStor can immediately reschedule the Pod to another available node with associated volume data and bring the Pod back to running in very short time (~ 10 seconds for the Pod using a HA volume, and longer time for the Pod with non-HA volume depends on the data size).
If users wish to keep data volumes on a specific node, accessible even after the node restarts, they can add the following labels to the node. This prevents the system from migrating the data volumes from that node. However, the system will still immediately schedule Pods on other nodes that have replicas of the data volumes.
Add a label (optional)
If it is not required to migrate the volumes when the node reboots, you can add the following label to the node before draining it.
kubectl label node NODE hwameistor.io/eviction=disableDrain the node.
kubectl drain NODE --ignore-daemonsets=true. --ignore-daemonsets=true- If Step 1 has been performed, you can reboot the node after Step 2 is successful.
- If Step 1 has not been performed, you should check if the data migration is complete after Step 2 is successful (similar to Step 2 in remove node). After the data migration is complete, you can reboot the node.
After the first two steps are successful, you can reboot the node and wait for the node system to return to normal.
Bring the node back to normal.
kubectl uncordon NODE
Traditional shared storage
StatefulSet, which is used for stateful applications, prioritizes deploying replicated replicas to different nodes to distribute the workload. However, it creates a PV data volume for each Pod replica. Only when the number of replicas exceeds the number of worker nodes, multiple replicas will be deployed on the same node.
On the other hand, Deployments, which are used for stateless applications, prioritize deploying replicated replicas to different nodes to distribute the workload. All Pods share a single PV data volume (currently only supports NFS). Similar to StatefulSets, multiple replicas will be deployed on the same node only when the number of replicas exceeds the number of worker nodes. For block storage, as data volumes cannot be shared, it is recommended to use a single replica.
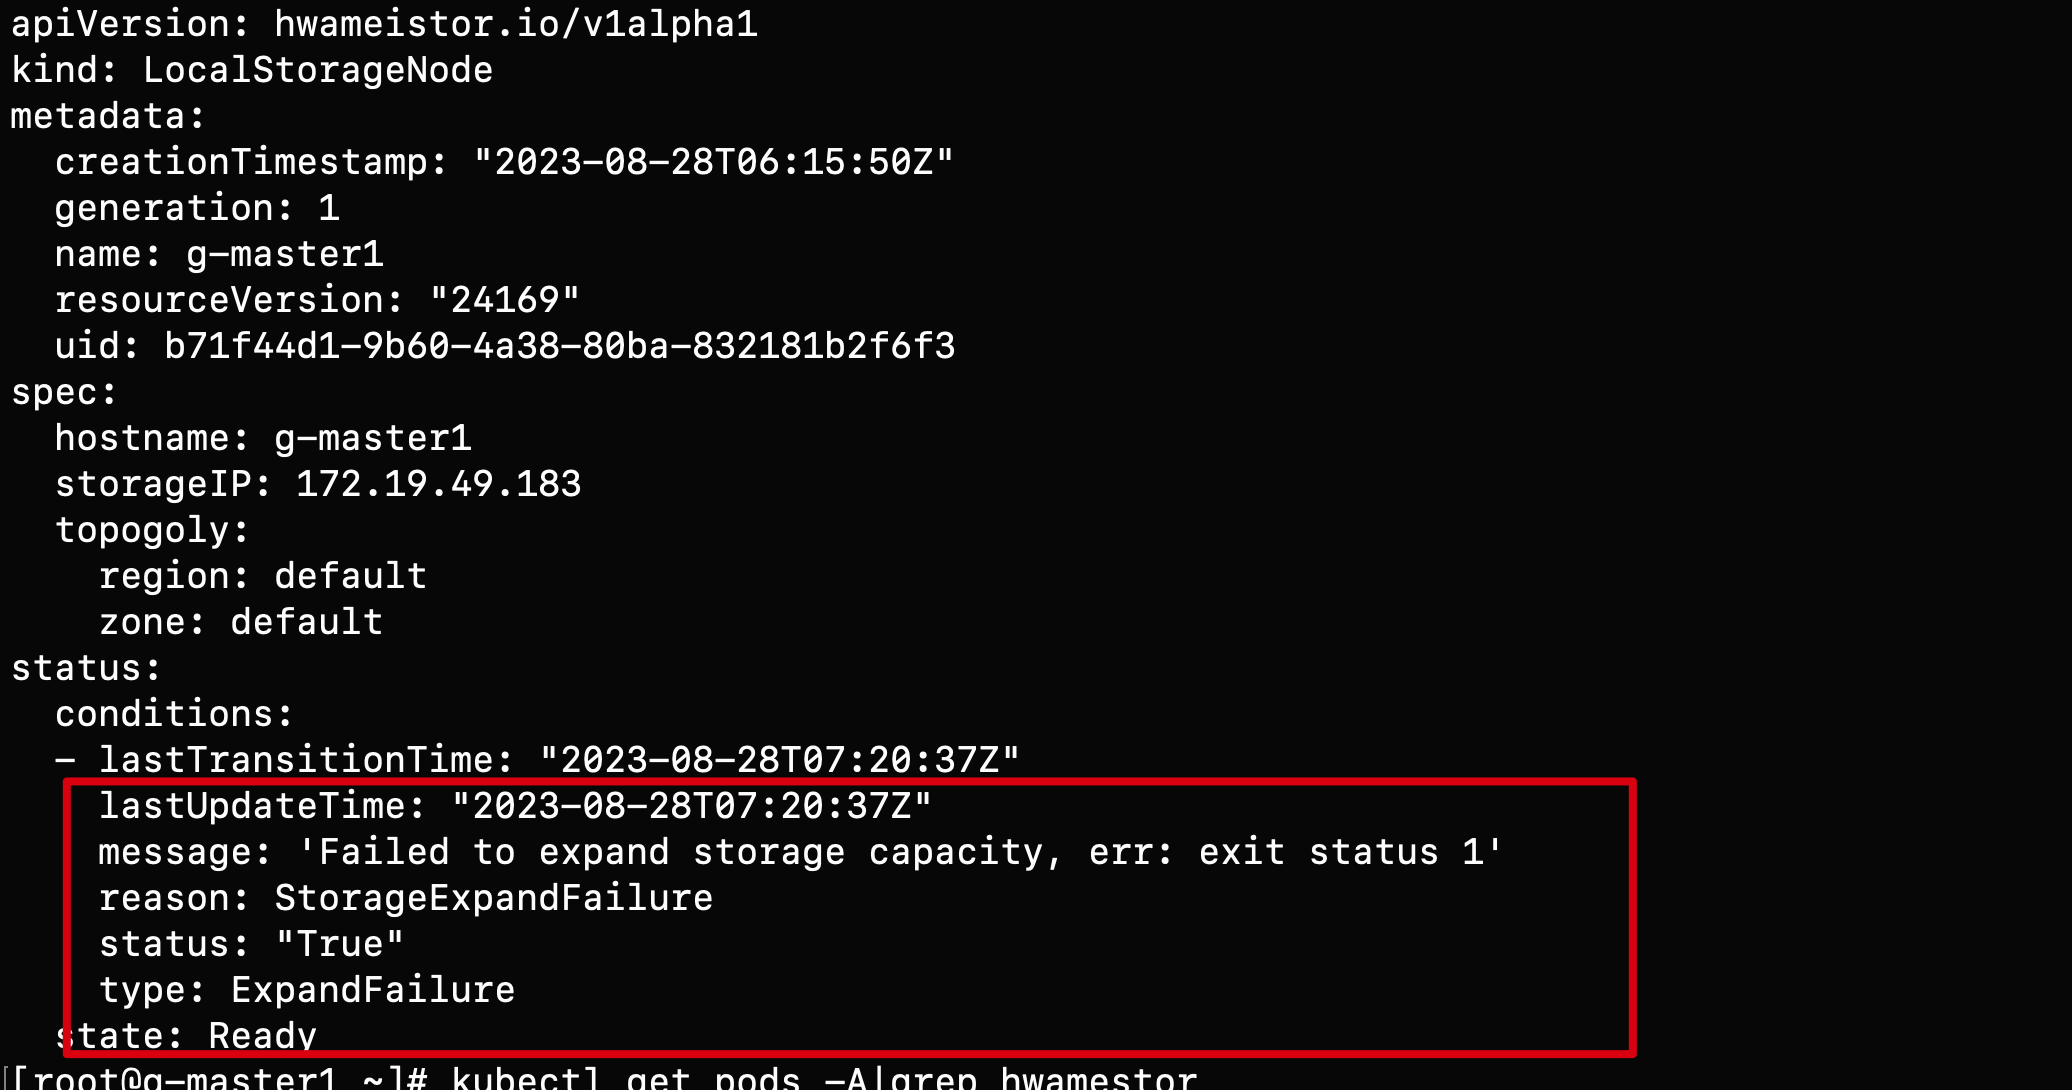
Q4: How to handle the error when encountering "LocalStorageNode" during inspection?
When encountering the following error while inspecting LocalStorageNode:

Possible causes of the error:
The node does not have LVM2 installed. You can install it using the following command:
rpm -qa | grep lvm2  # Check if LVM2 is installed
yum install lvm2  # Install LVM on each node
Ensure that the proper disk on the node has GPT partitioning.
blkid /dev/sd*  # Confirm if the disk partitions are clean
wipefs -a /dev/sd*  # Clean the disk
Q5: Why is StorageClasses not automatically created after installation using Hwameistor-operator?
Probable reasons:
The node has no remaining bare disks that can be automatically managed. You can check it by running the following command:
kubectl get ld # Check disk
kubectl get lsn <node-name> -o yaml # Check whether the disk is managed normally
The hwameistor related components are not working properly. You can check it by running the following command:
drbd-adapteris only needed when HA is enabled, if not, ignore the related error.kubectl get pod -n hwameistor # Confirm whether the pod is running
kubectl get hmcluster -o yaml # View the health field
Q6: How to expand the storage pool manually?
When is manually expanding storage needed:
- To use the disk partition (Issue #1387)
- Same serial number is shared between different disks (Issue #1450, Issue #1449)
Run
lsblk -o +SERIALto check serial number.
Manual expansion steps:
Create and expand storage pool
vgcreate LocalStorage_PoolHDD /dev/sdbLocalStorage_PoolHDDis the StoragePool name forHDDtype disk. Other optional names areLocalStorage_PoolSSDforSSDtype andLocalStorage_PoolNVMeforNVMetype.If you want to expand the storage pool with disk partition, you can use the following command:
vgcreate LocalStorage_PoolHDD /dev/sdb1If storage pool is already exist, you can use the following command:
vgextend LocalStorage_PoolHDD /dev/sdb1Check the status of the node storage pool and confirm that the disk is added to the storage pool like this:
kubectl get lsn node1 -o yamlapiVersion: hwameistor.io/v1alpha1
kind: LocalStorageNode
...
pools:
LocalStorage_PoolHDD:
class: HDD
disks:
- capacityBytes: 17175674880
devPath: /dev/sdb
...
Q7: How to manually recycle a data volume?
When do you need to manually recycle a data volume?:
- The reclaim policy of StorageClass is set to Retain. After deleting the PVC, the volume fails to be automatically reclaimed.
- The data volume is not automatically recycled after the PVC is deleted under abnormal circumstances
Manually reclaim data volumes:
Check the mapping table between LV (data volume) and PVC, and find the PVC that is no longer in use. The corresponding LV should be recycled.
kubectl get lv | awk '{print $1}' | grep -v NAME | xargs -I {} kubectl get lv {} -o jsonpath='{.metadata.name} -> {.spec.pvcNamespace}/{.spec.pvcName}{"\n"}'pvc-be53be2a-1c4b-430e-a45b-05777c791957 -> default/data-nginx-sts-0
Check whether the PVC exists and delete it if it does.
Check if a PV with the same name as the LV exists, and if so, delete it.
Edit LV, modify spec.delete=true
kubectl edit lv pvc-be53be2a-1c4b-430e-a45b-05777c791957...
spec:
delete: true
Q8: Why are there residual LocalVolume resources?
If you delete PV first and then PVC, LocalVolume resources will not be reclaimed normally. You need to enable the HonorPVReclaimPolicy feature to reclaim them normally.
Steps to enable HonorPVReclaimPolicy:
Modify kube-controller-manager:
vi /etc/kubernetes/manifests/kube-controller-manager.yaml...
spec:
containers:
- command:
- kube-controller-manager
- --allocate-node-cidrs=false
- --feature-gates=HonorPVReclaimPolicy=trueModify csi-provisioner:
kubectl edit -n hwameistor deployment.apps/hwameistor-local-storage-csi-controller...
containers:
- args:
- --v=5
- --csi-address=$(CSI_ADDRESS)
- --leader-election=true
- --feature-gates=Topology=true
- --strict-topology
- --extra-create-metadata=true
- --feature-gates=HonorPVReclaimPolicy=true
env:
- name: CSI_ADDRESS
value: /csi/csi.sock
image: k8s.m.daocloud.io/sig-storage/csi-provisioner:v3.5.0Check whether the configuration is effective:
You can check whether the finalizers of the existing PV contain
external-provisioner.volume.kubernetes.io/finalizer:kubectl get pv pvc-a7b7e3ba-f837-45ba-b243-dec7d8aaed53 -o yaml...
apiVersion: v1
kind: PersistentVolume
metadata:
annotations:
pv.kubernetes.io/provisioned-by: csi.vsphere.vmware.com
creationTimestamp: "2021-11-17T19:28:56Z"
finalizers:
- kubernetes.io/pv-protection
- external-attacher/lvm-hwameistor-io
- external-provisioner.volume.kubernetes.io/finalizer
Q9: How to Disable hwameistor-scheduler Auto-Injection?
In some scenarios, users may want to prevent hwameistor-scheduler from being automatically injected into Pods. For example, specific Namespaces (such as system-level ones) that do not use hwameistor volumes can disable auto-injection by adding the label hwameistor.io/webhook=ignore to the target Namespace.
By default, the kube-system and hwameistor Namespaces automatically have the hwameistor.io/webhook=ignore label applied.
Steps to Disable Auto-Injection:
Label the Namespace
Use the following command to add the label to a specific Namespace:
kubectl label namespace <namespace-name> hwameistor.io/webhook=ignoreThis ensures that Pods in the labeled Namespace will not have hwameistor-scheduler auto-injected.