MinIO
Introduction to MinIO
MinIO is a high performance object storage solution with native support for Kubernetes deployments. It can provide distributed, S3-compatible, and multi-cloud storage service in public cloud, private cloud, and edge computing scenarios. MinIO is a software-defined product and released under GNU Affero General Public License v3.0. It can also run well on x86 and other standard hardware.

MinIO is designed to meet private cloud's requirements for high performance, in addition to all required features of object storage. MinIO features easy to use, cost-effective, and high performance in providing scalable cloud-native object storage services.
MinIO works well in traditional object storage scenarios, such as secondary storage, disaster recovery, and archiving. It also shows competitive capabilities in machine learning, big data, private cloud, hybrid cloud, and other emerging fields to well support data analysis, high performance workloads, and cloud-native applications.
MinIO architecture
MinIO is designed for the cloud-native architecture, so it can be run as a lightweight container and managed by external orchestration tools like Kubernetes.
The MinIO package comprises of static binary files less than 100 MB. This small package enables it to efficiently use CPU and memory resources even with high workloads and can host a large number of tenants on shared hardware.
MinIO's architecture is as follows:
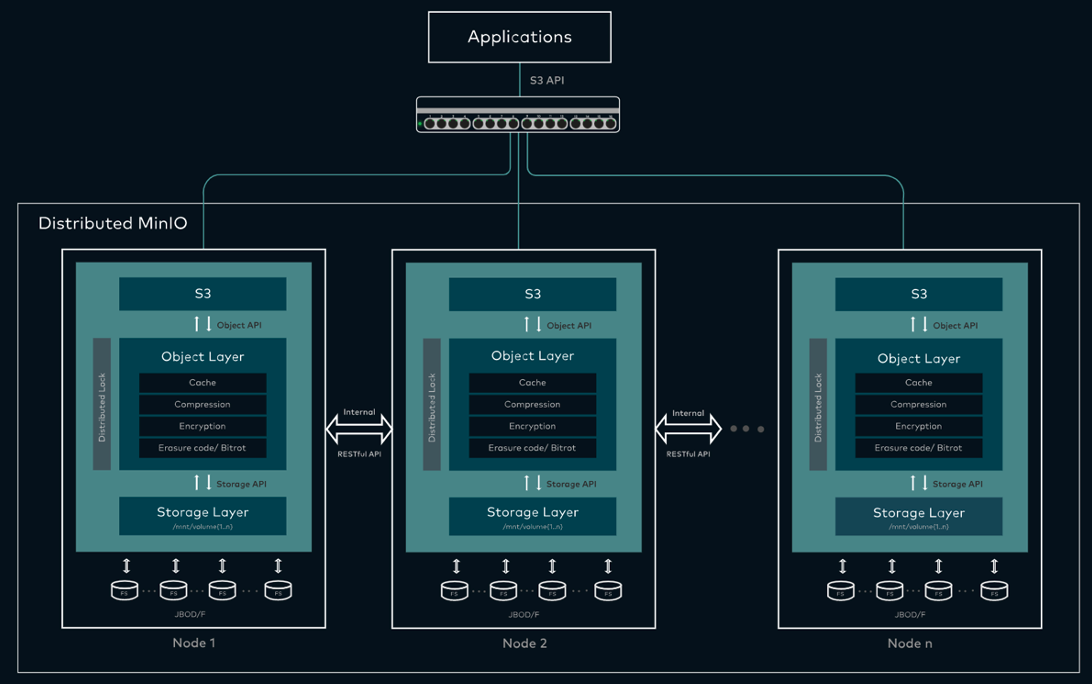
MinIO can run on a standard server that have installed proper local drivers (JBOD/JBOF). An MinIO cluster has a totally symmetric architecture. In other words, each server provide same functions, without any name node or metadata server.
MinIO can write both data and metadata as objects, so there is no need to use metadata servers. MinIO provides erasure coding, bitrot protection, encryption and other features in a strict and consistent way.
Each MinIO cluster is a set of distributed MinIO servers, one MinIO process running on each node.
MinIO runs in a userspace as a single process, and it uses lightweight co-routines for high concurrence. It divides drivers into erasure sets (generally 16 drivers in each set), and uses the deterministic hash algorithm to place objects into these erasure sets.
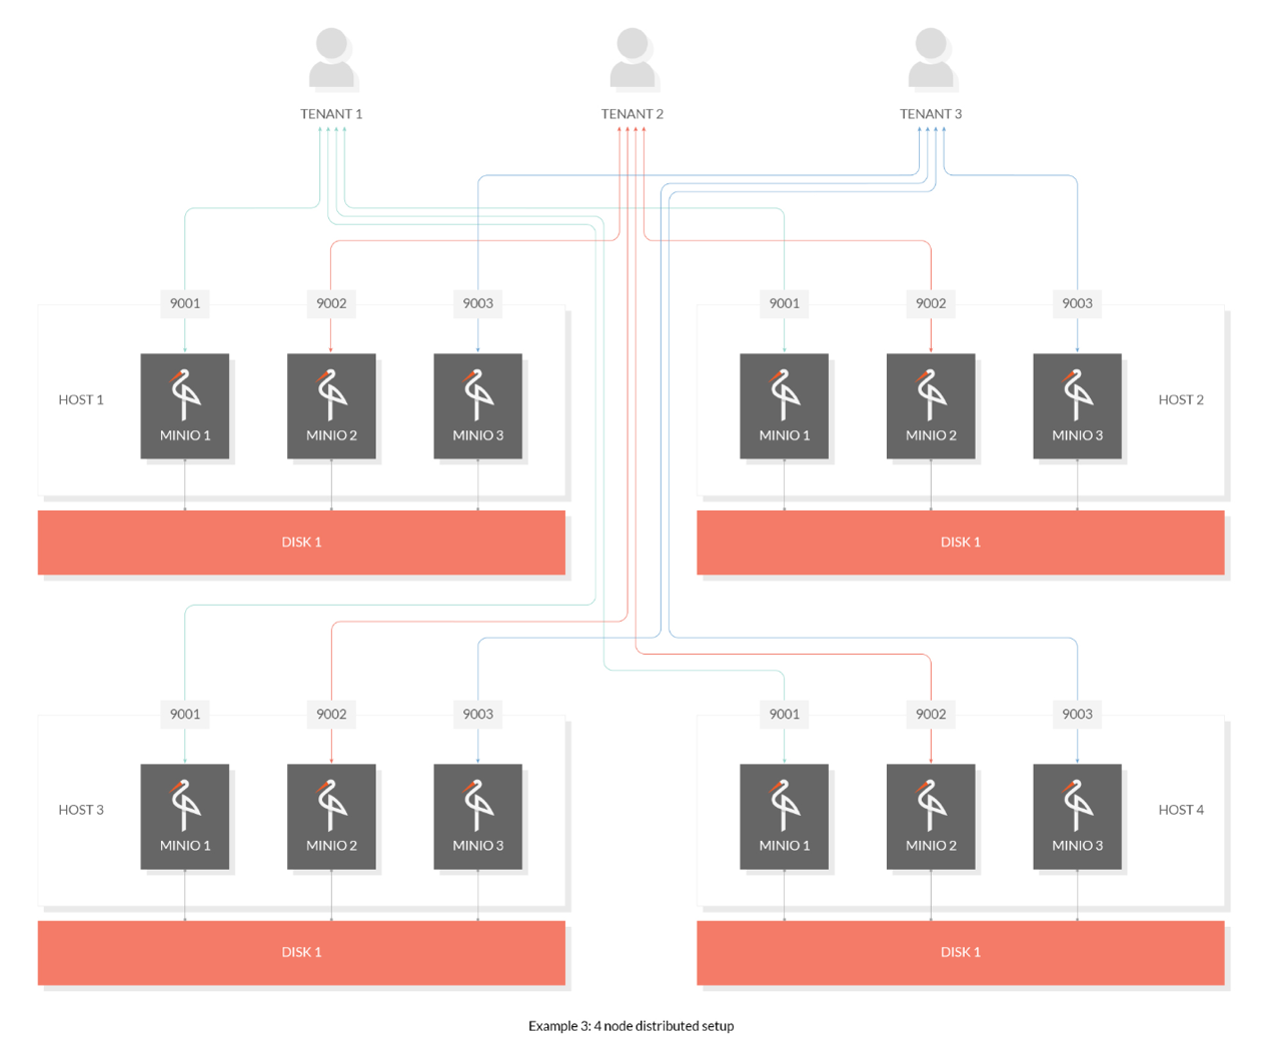
MinIO is specifically designed for large-scale and multi-datacenter cloud storage service. Tenants can run their own MinIO clusters separately from others, getting rid of interruptions from upgrade or security problems. Tenants can scale up by connecting multi clusters across geographical regions.
Build test environment
Deploy Kubernetes cluster
A Kubernetes cluster was deployed with three virtual machines: one as the master node and two as worker nodes. The kubelet version is 1.22.0.

Deploy HwameiStor local storage
Deploy HwameiStor local storage on Kubernetes:

Allocate five disks (SDB, SDC, SDD, SDE, and SDF) for each worker node to support HwameiStor local disk management:


Check node status of local storage:

Create storageClass:
![]()
Deploy distributed multi-tenant cluster (minio-operator)
This section will show how to deploy minio-operator, how to create a tenant, and how to configure HwameiStor local volumes.
Deploy minio-operator
Copy minio-operator repo to your local environment
git clone <https://github.com/minio/operator.git>

Enter helm operator directory
/root/operator/helm/operator
Deploy the minio-operator instance
helm install minio-operator \
--namespace minio-operator \
--create-namespace \
--generate-name .
--set persistence.storageClass=local-storage-hdd-lvm .
Check minio-operator running status

Create tenants
Enter the
/root/operator/examples/kustomization/basedirectory and changetenant.yaml
Enter the
/root/operator/helm/tenant/directory and changevalues.yaml
Enter
/root/operator/examples/kustomization/tenant-litedirectory and changekustomization.yaml
Change
tenant.yaml
Change
tenantNamePatch.yaml
Create a tenant
kubectl apply –k .Check resource status of the tenant minio-t1

To create another new tenant, you can first create a new directory
tenant(in this exampletenant-lite-2) under/root/operator/examples/kustomizationand change the files listed above
Run
kubectl apply –k .to create the new tenantminio-t2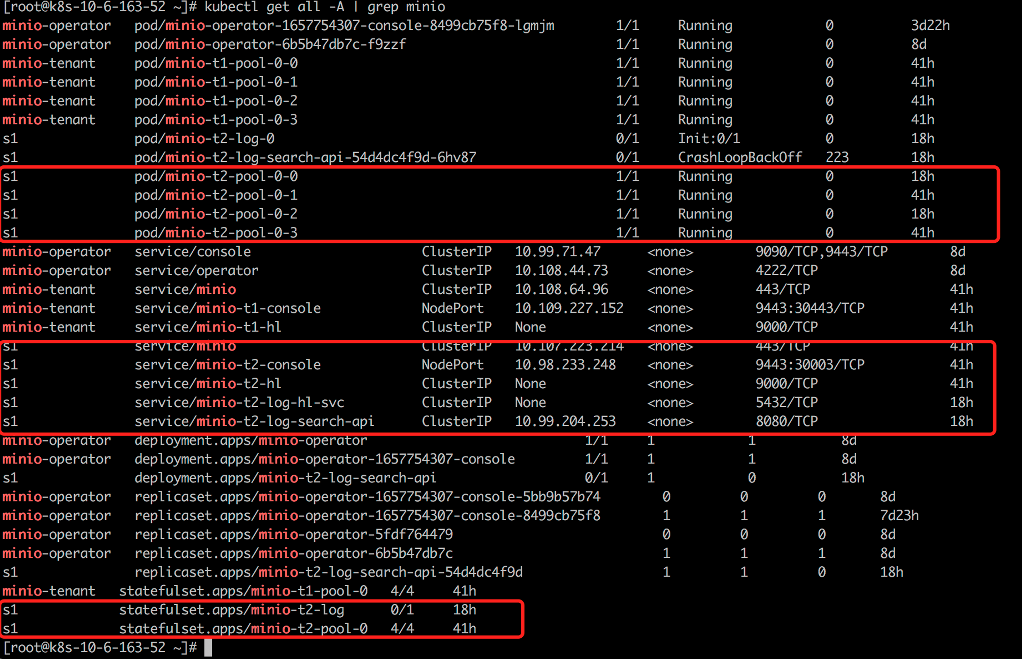
Configure HwameiStor local volumes
Run the following commands in sequence to finish this configuration:
kubectl get statefulset.apps/minio-t1-pool-0 -nminio-tenant -oyaml

kubectl get pvc –A

kubectl get pvc export-minio6-0 -nminio-6 -oyaml

kubectl get pv

kubectl get pvc data0-minio-t1-pool-0-0 -nminio-tenant -oyaml

kubectl get lv

kubect get lvr

Test HwameiStor's support for MinIo
With the above settings in place, now let's test basic features and tenant isolation.
Test basic features
Log in to
minio console:10.6.163.52:30401/login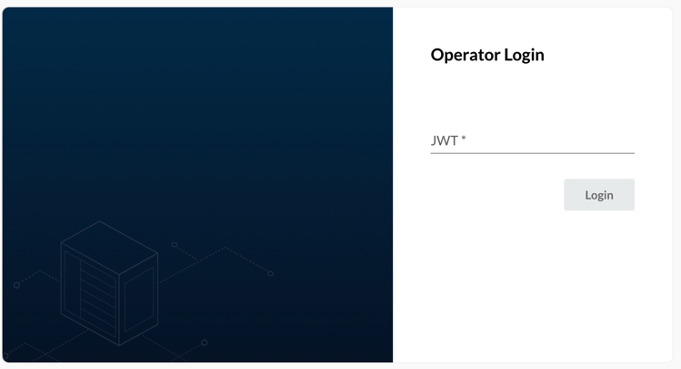
Get JWT by
kubectl minio proxy -n minio-operator
Browse and manage information about newly-created tenants
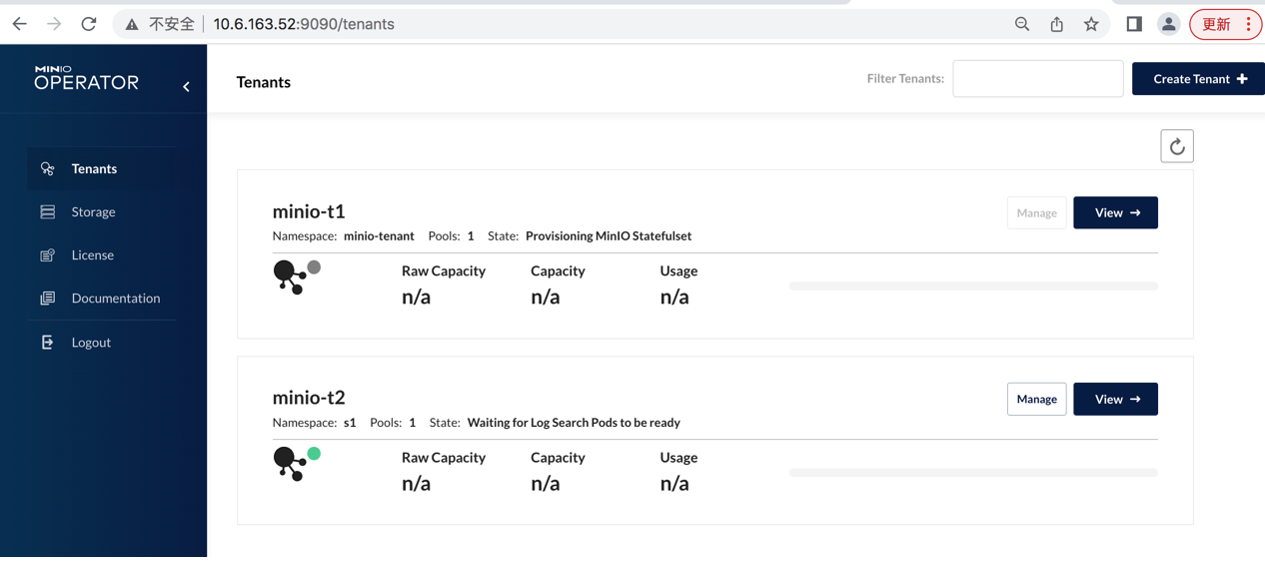
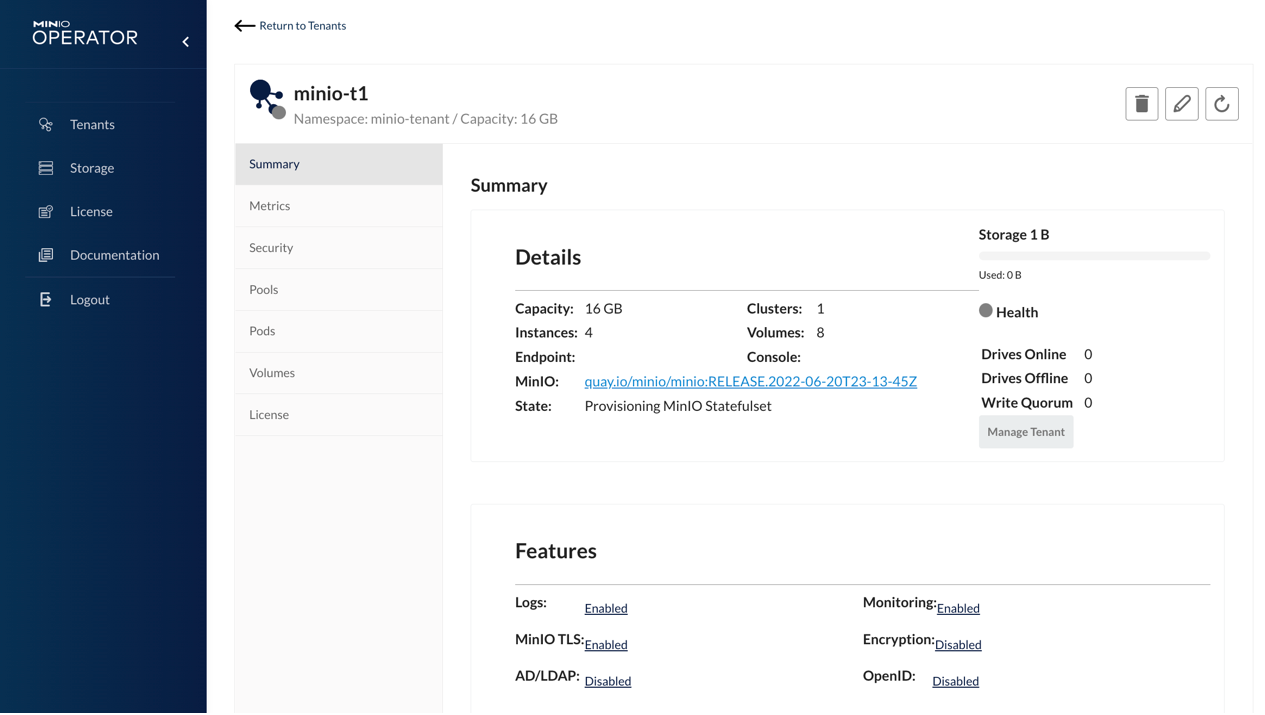
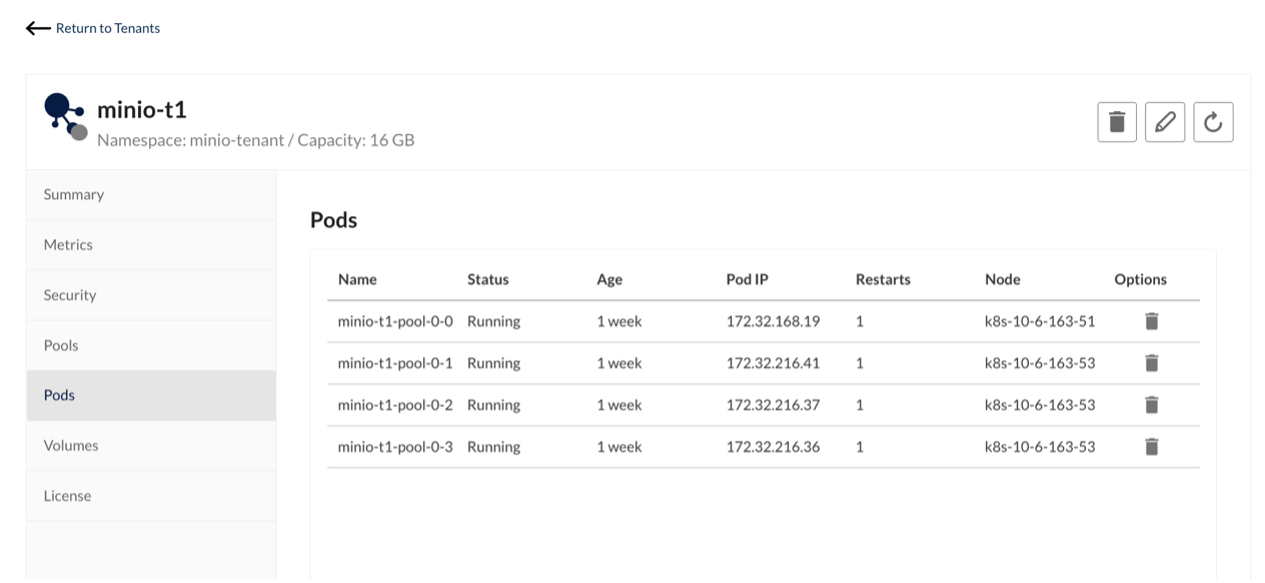
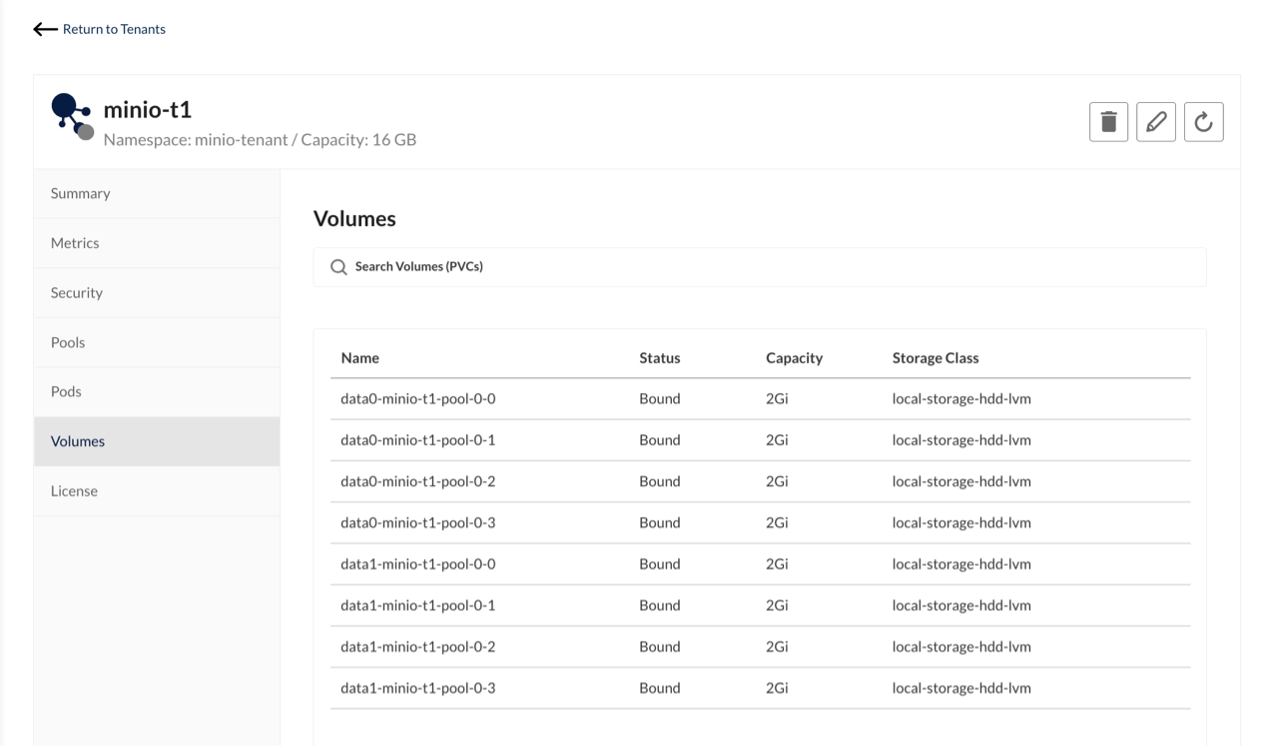
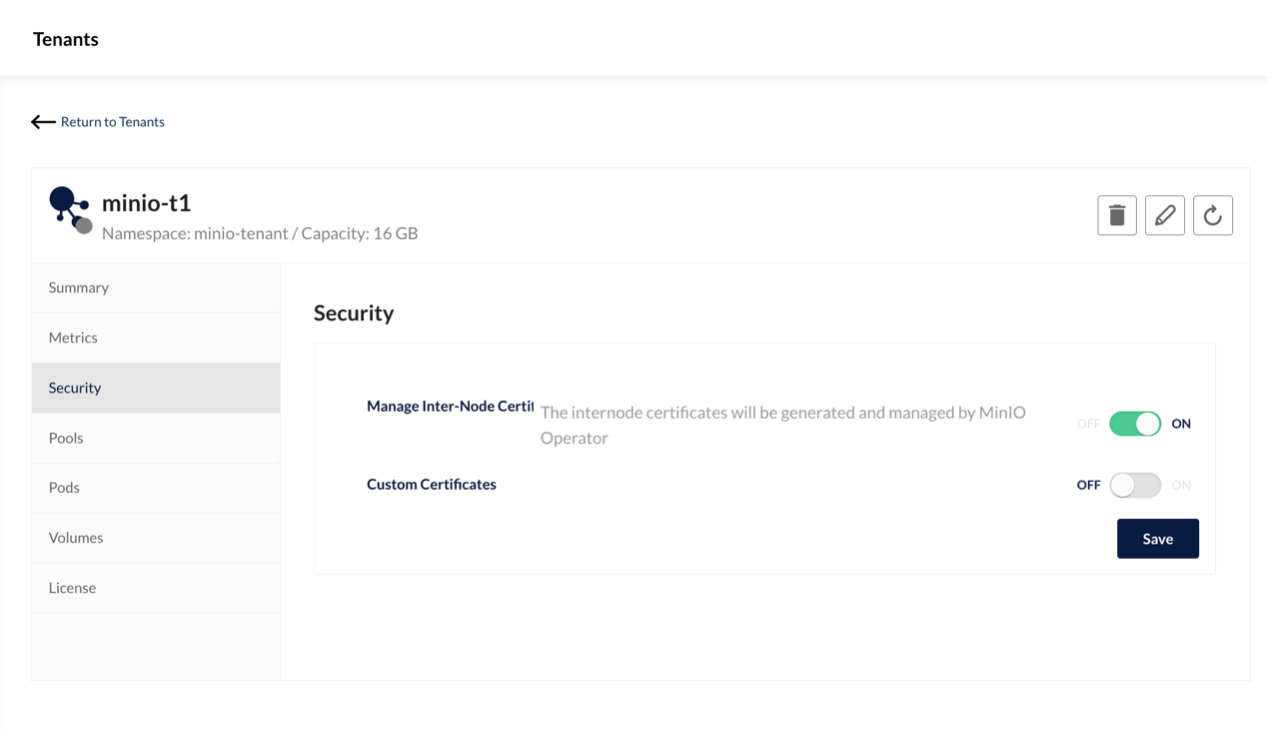
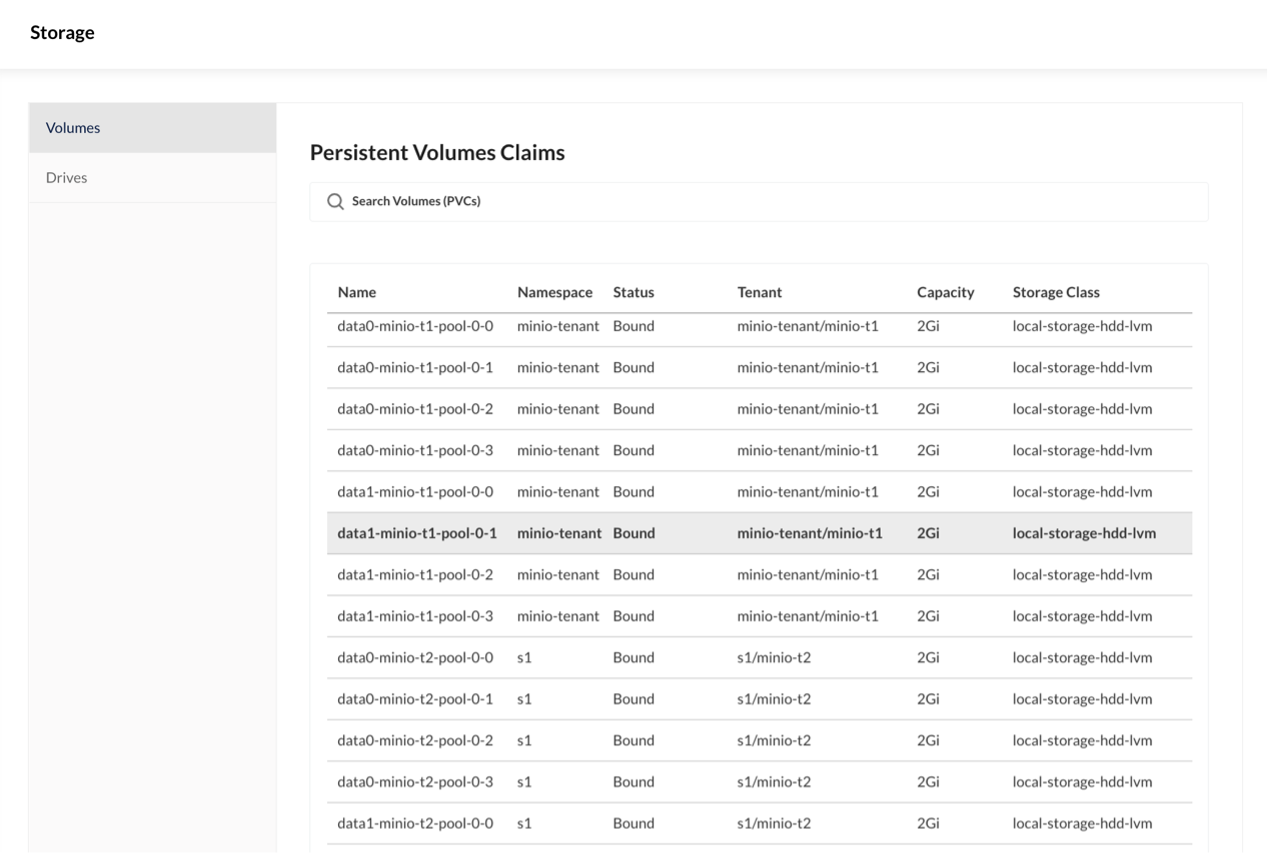
Log in as tenant
minio-t1(Account: minio)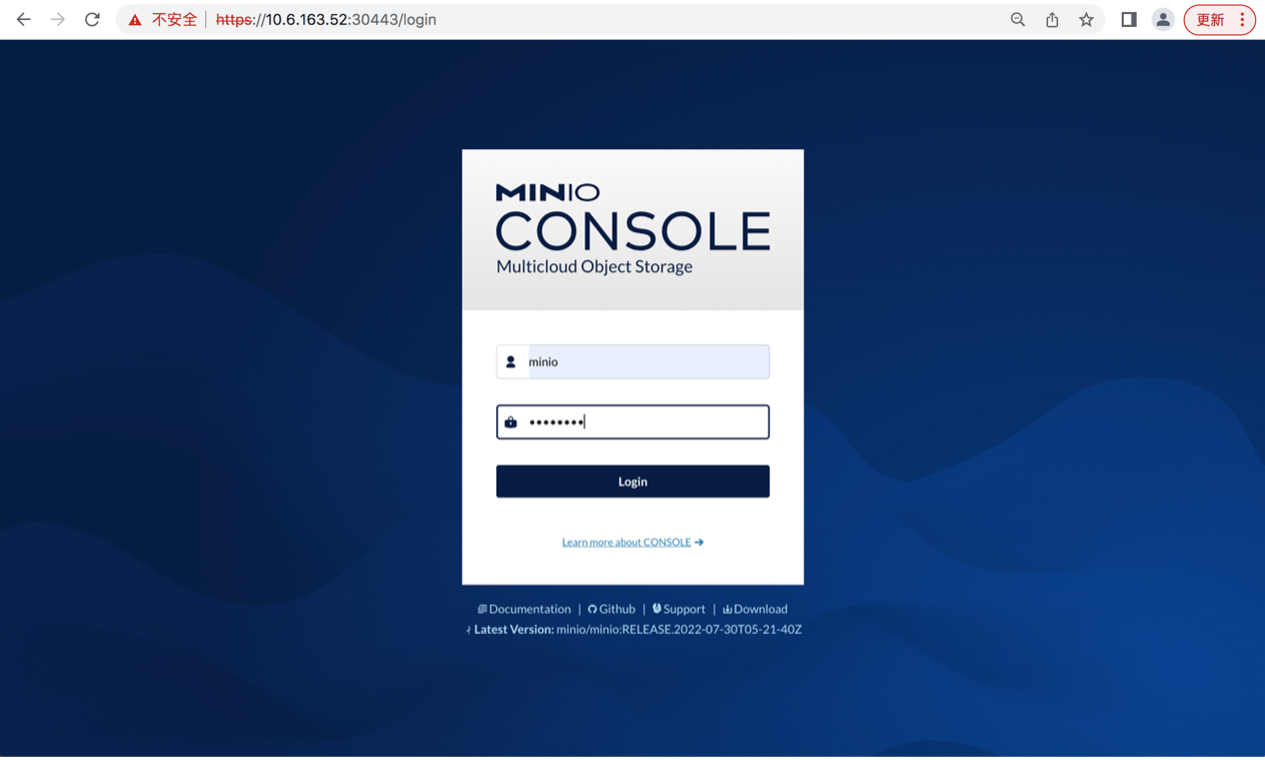
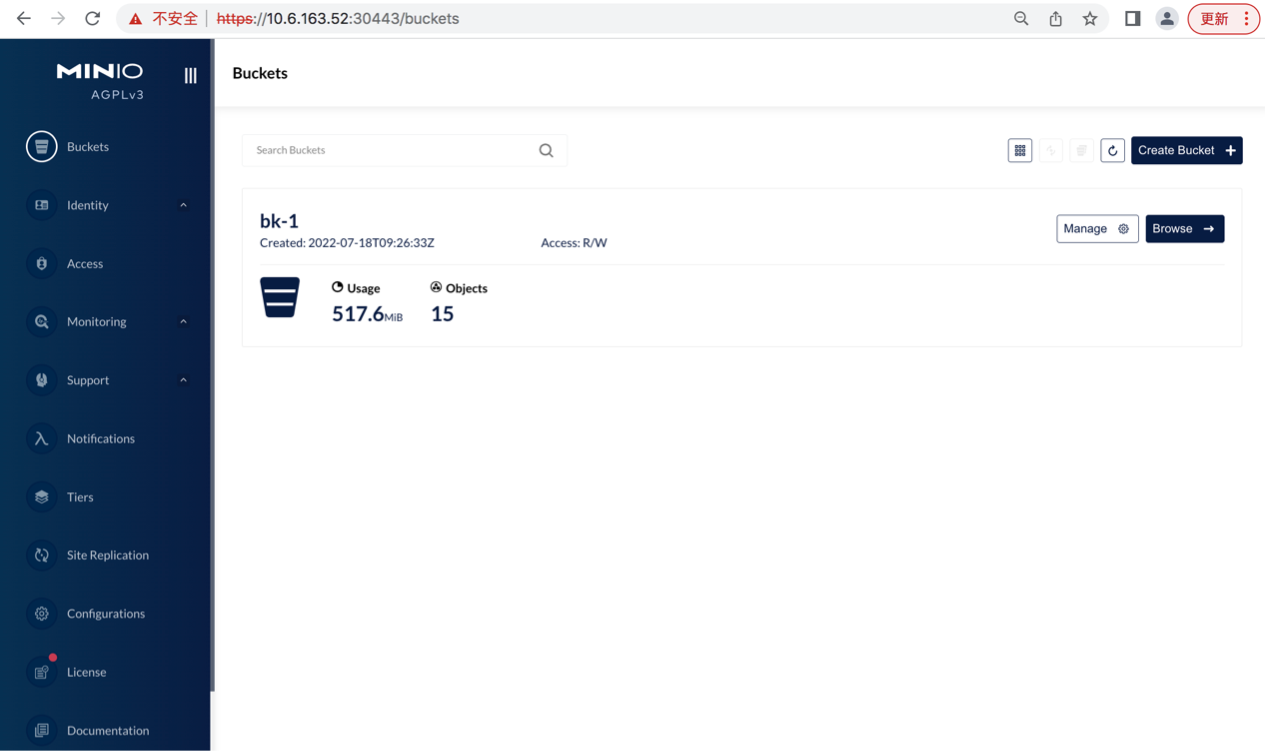
Browse bucket
bk-1

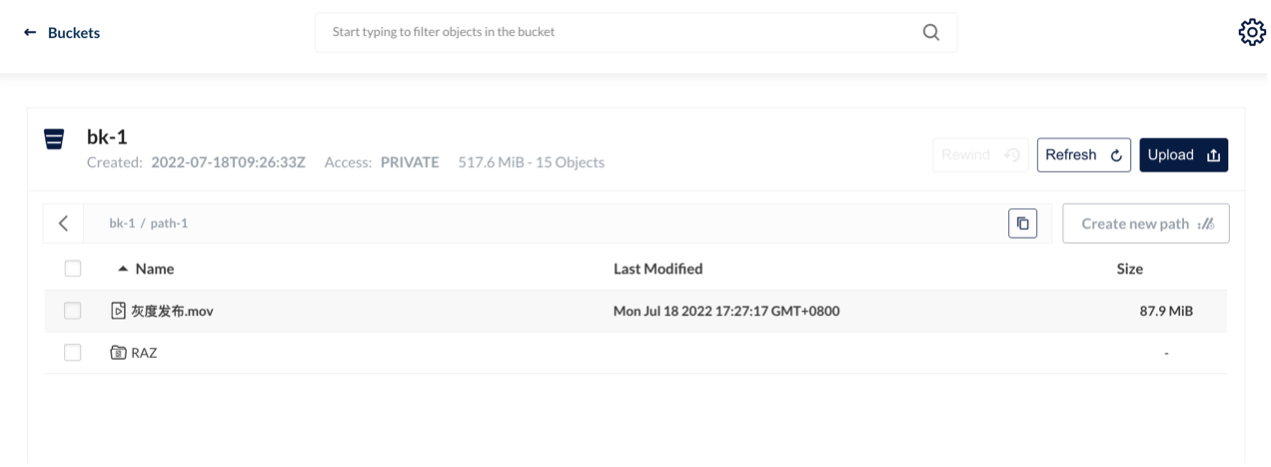
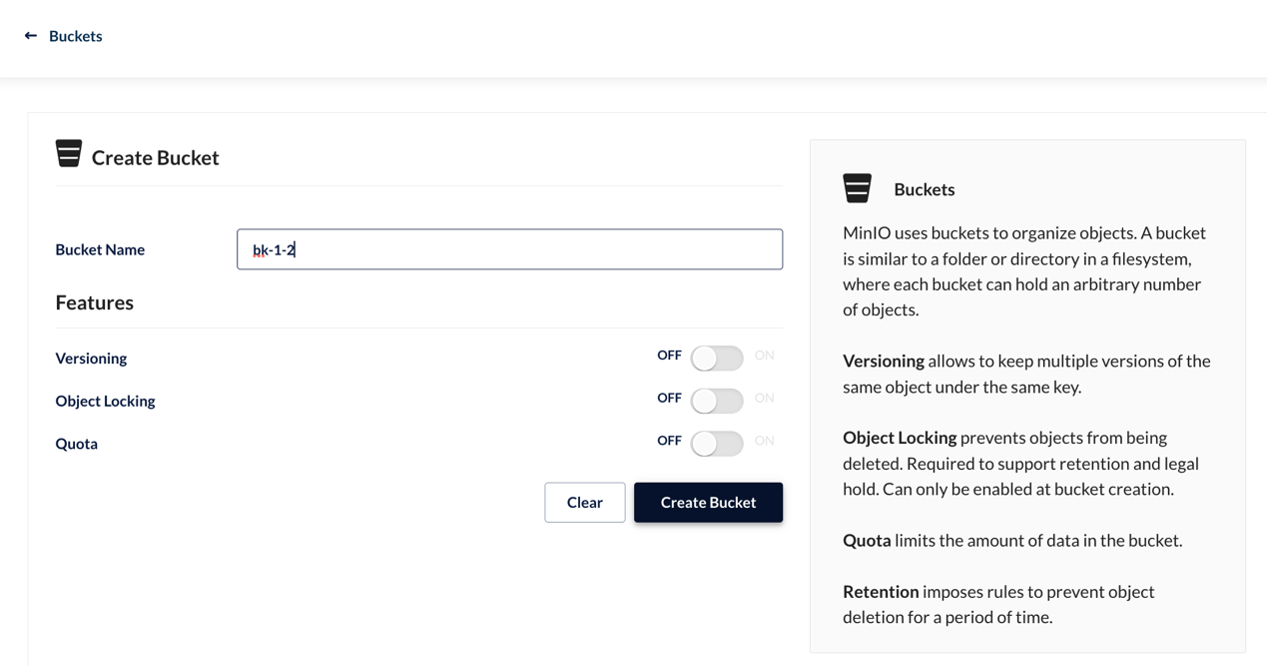
Create a new bucket
bk-1-1

Create path
path-1-2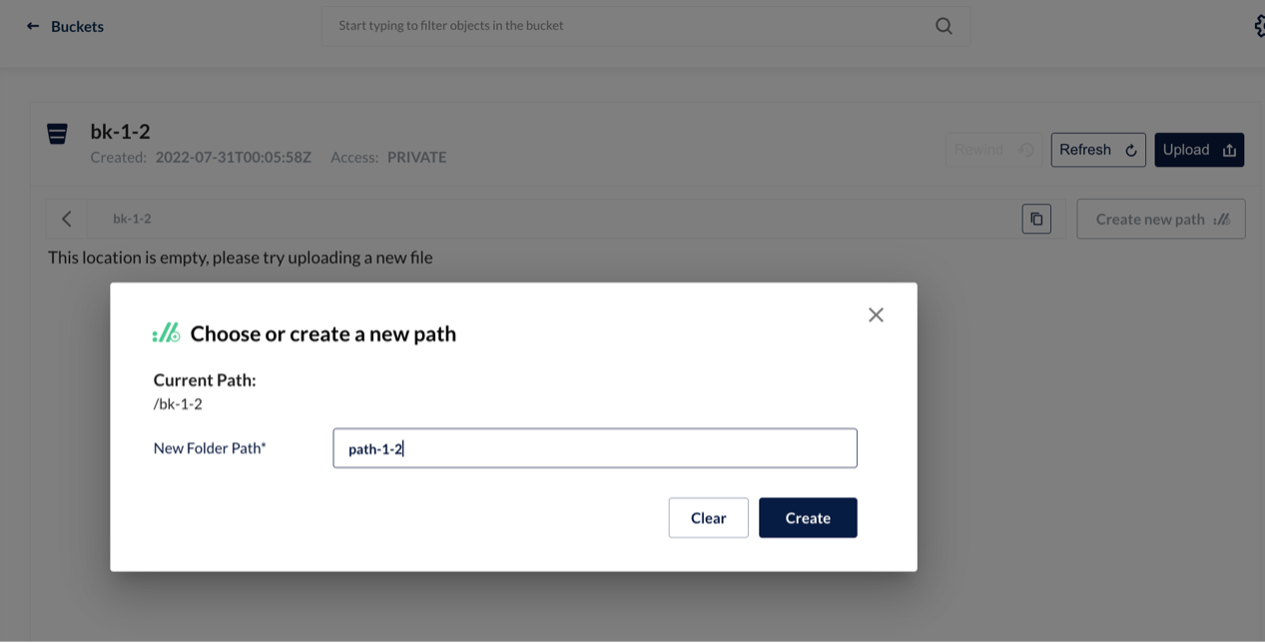

Upload the file

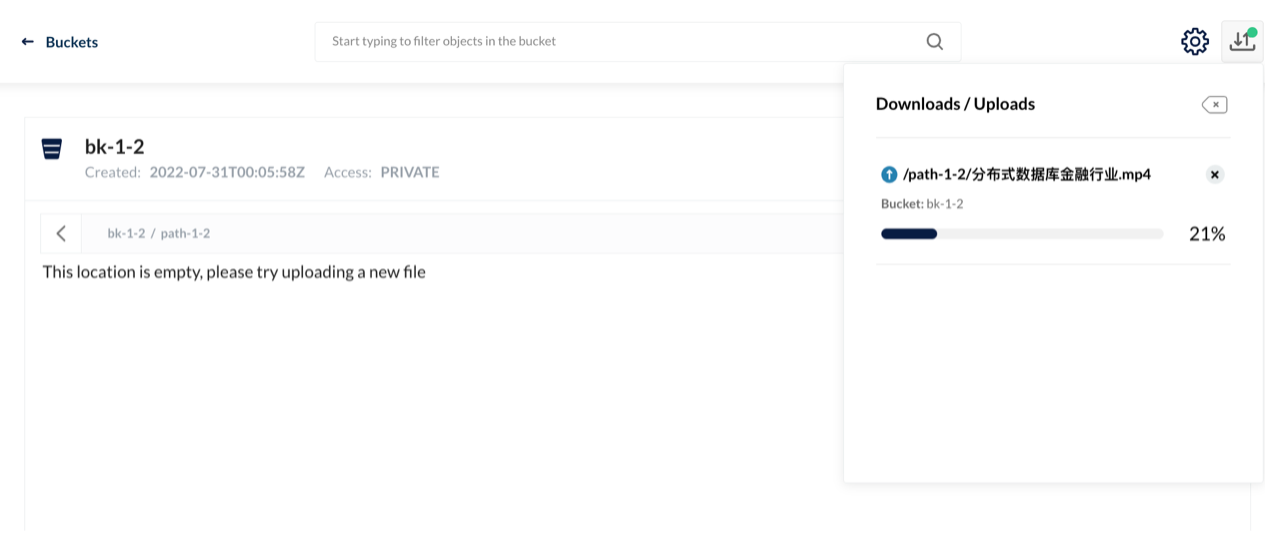
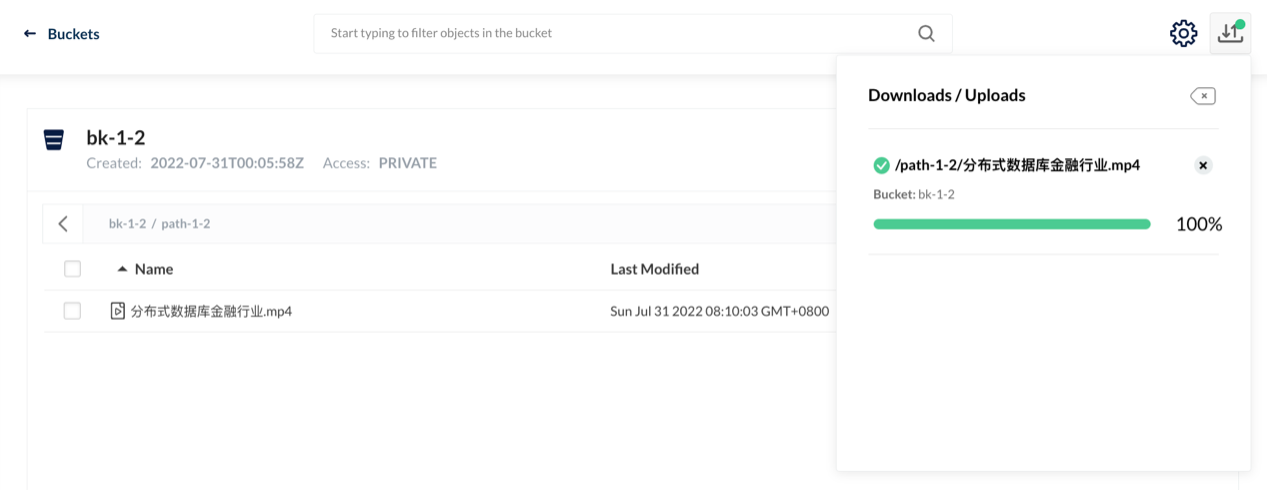
Upload the folder


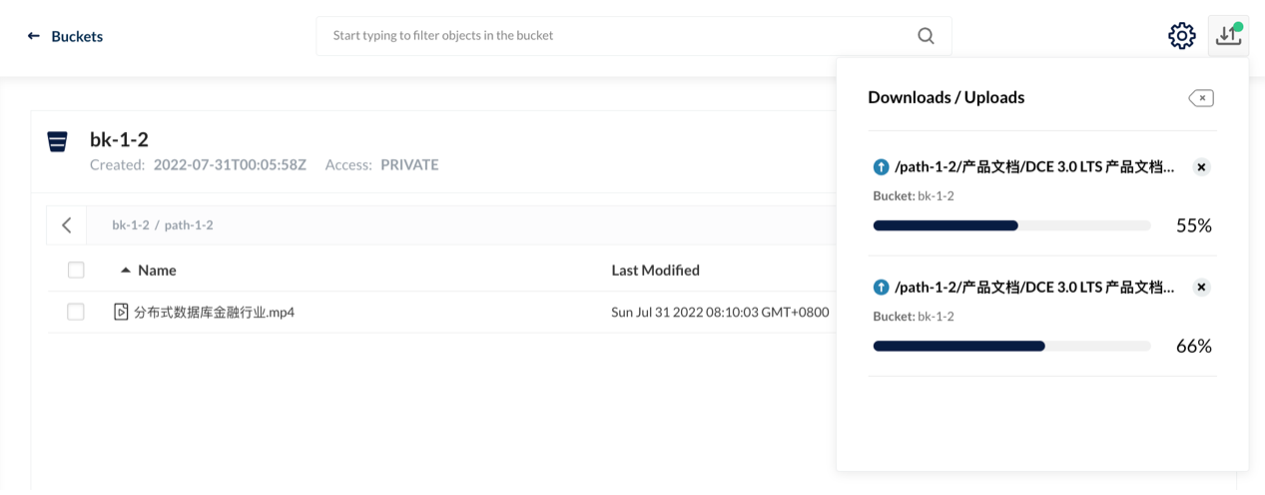
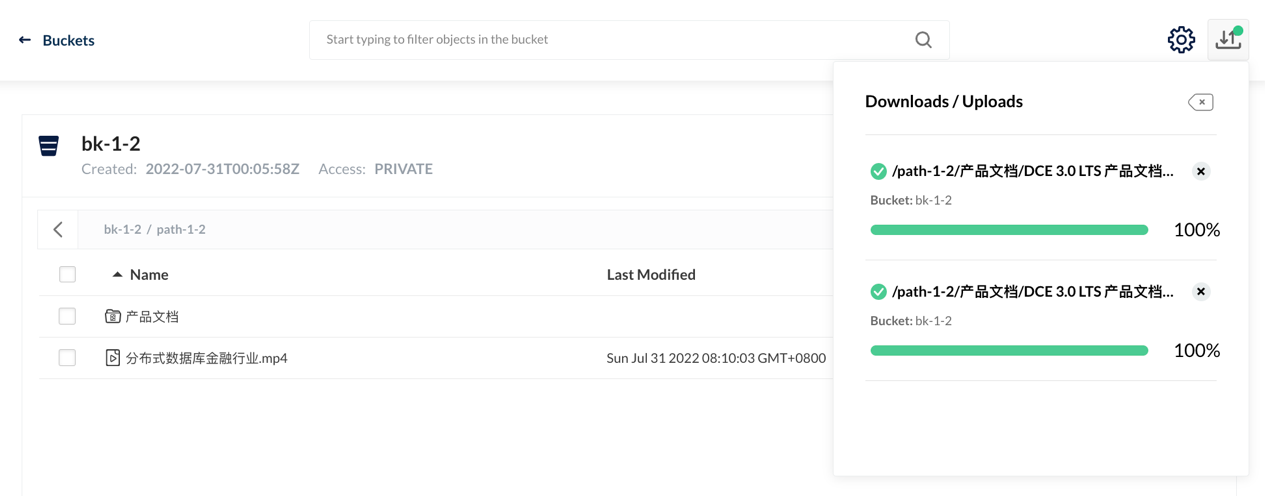
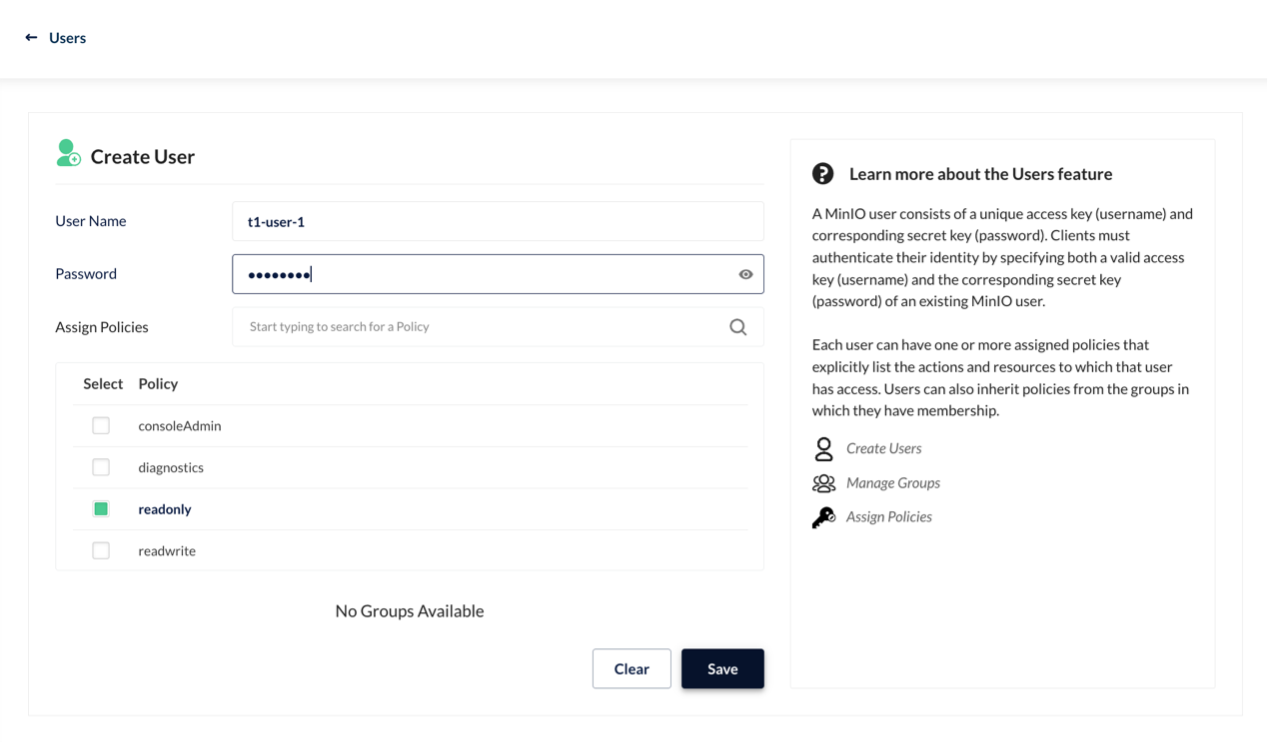
Create a user with read-only permission

Test tenant isolation
Log in as tenant
minio-t2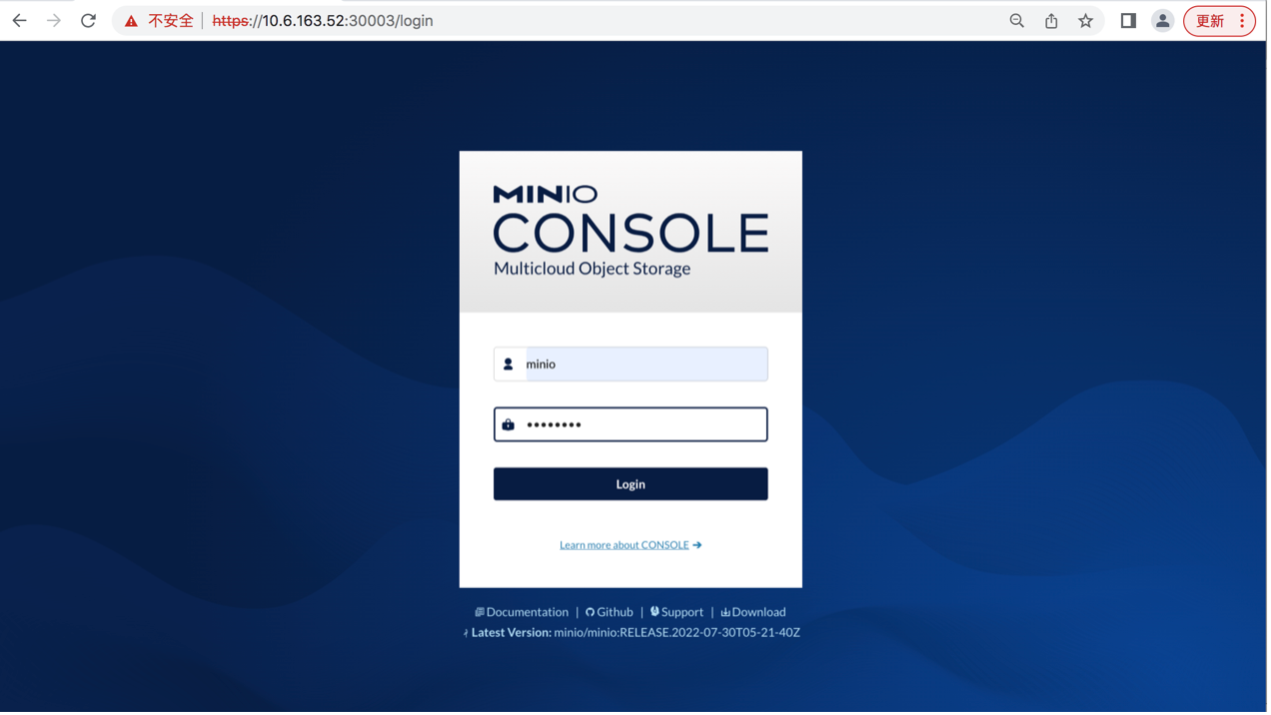
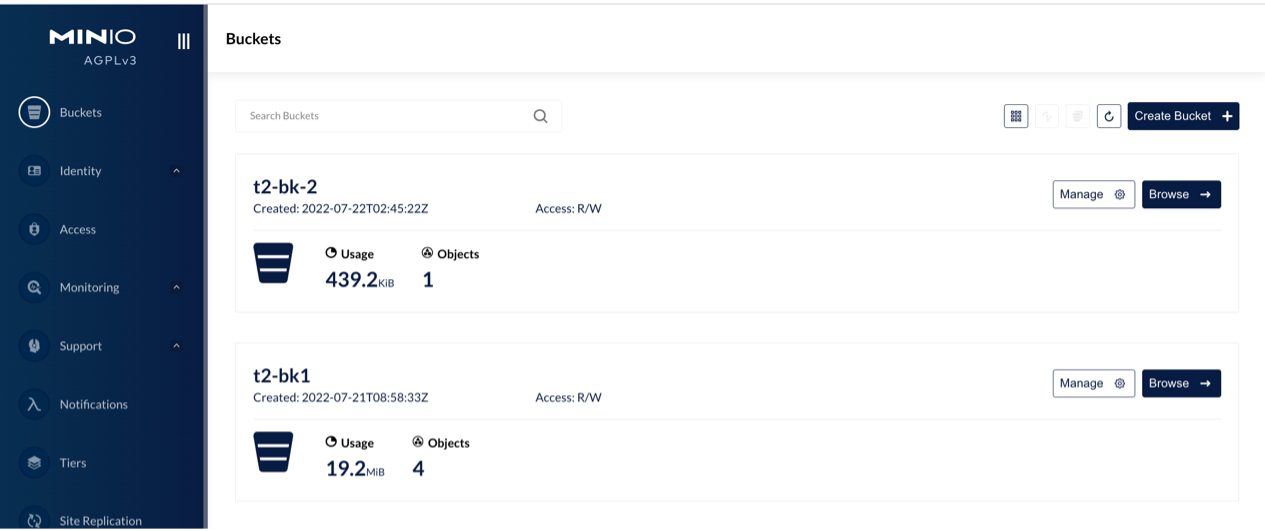
Only
minio-t2information is visible. You cannot see information about tenantminio-t1.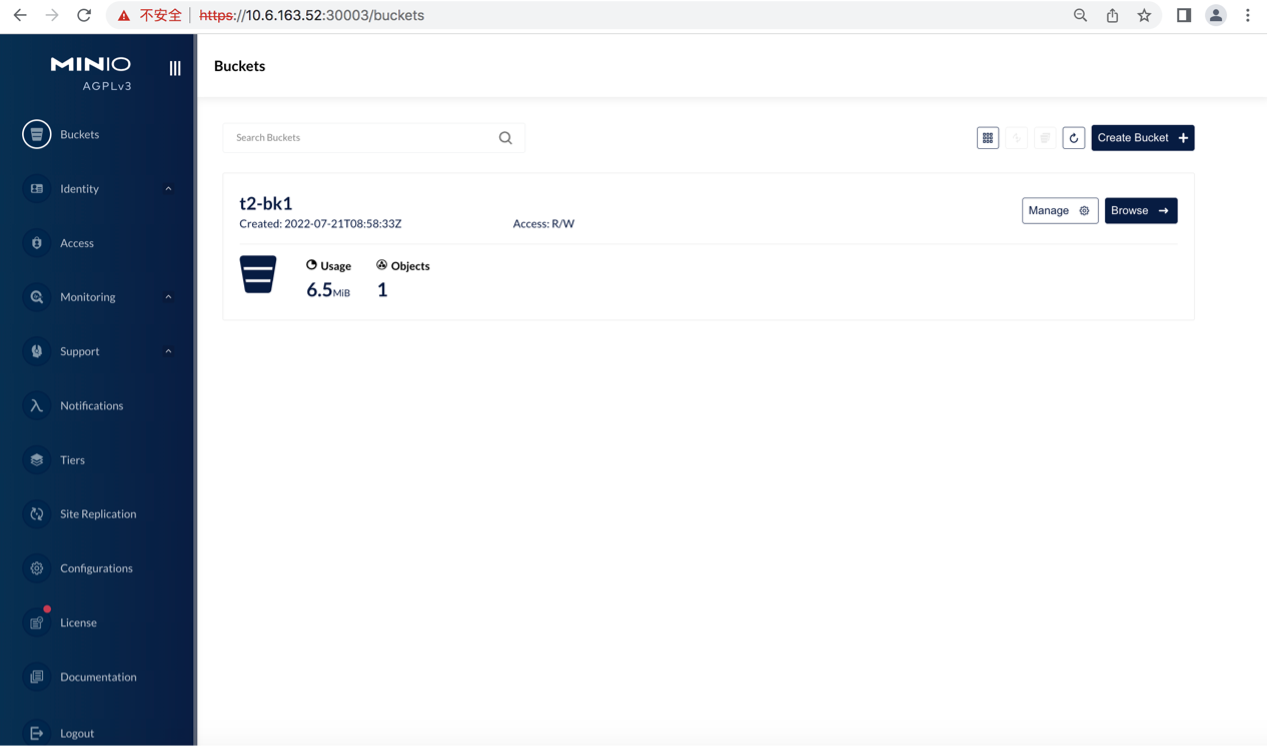
Create bucket
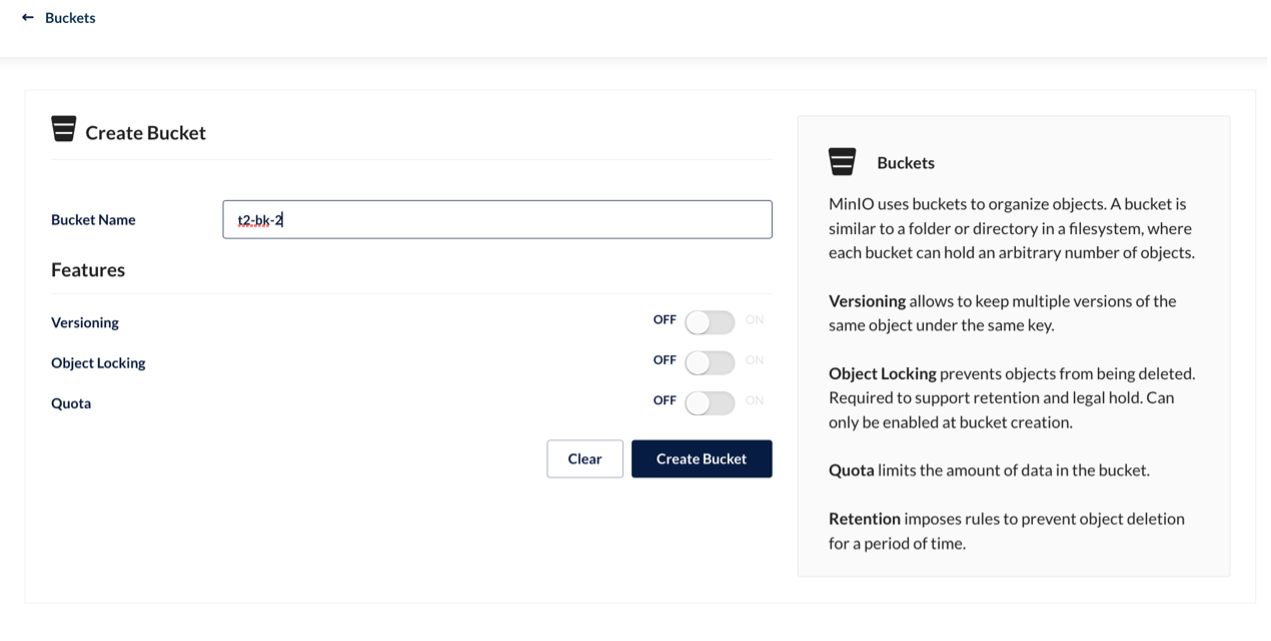

Create path
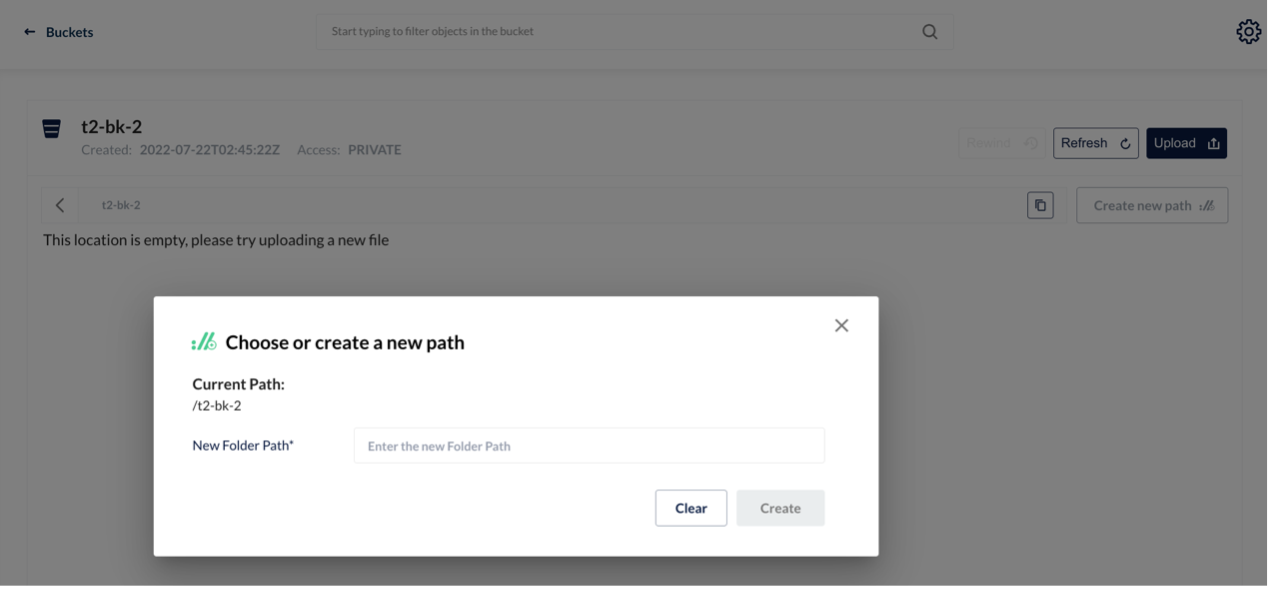

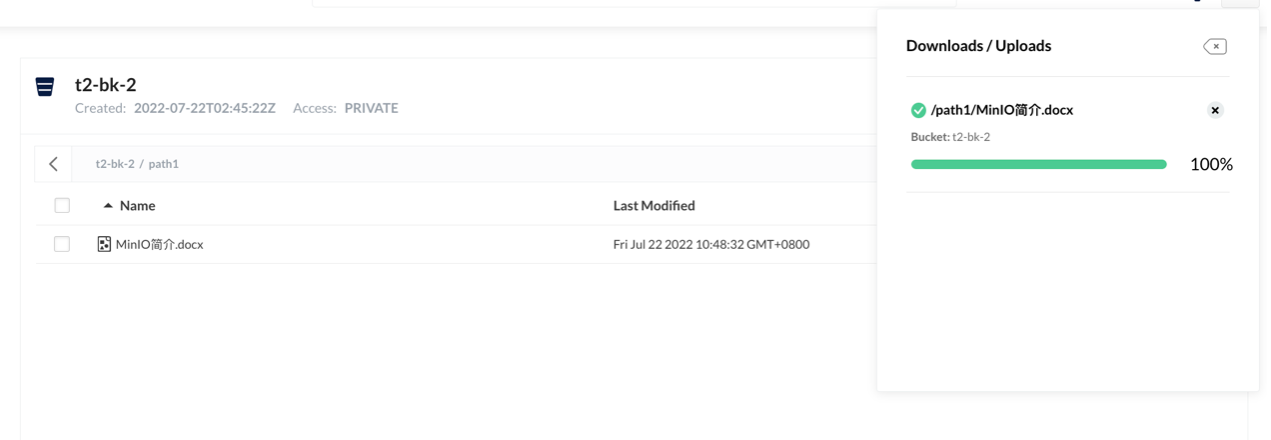
Upload the file

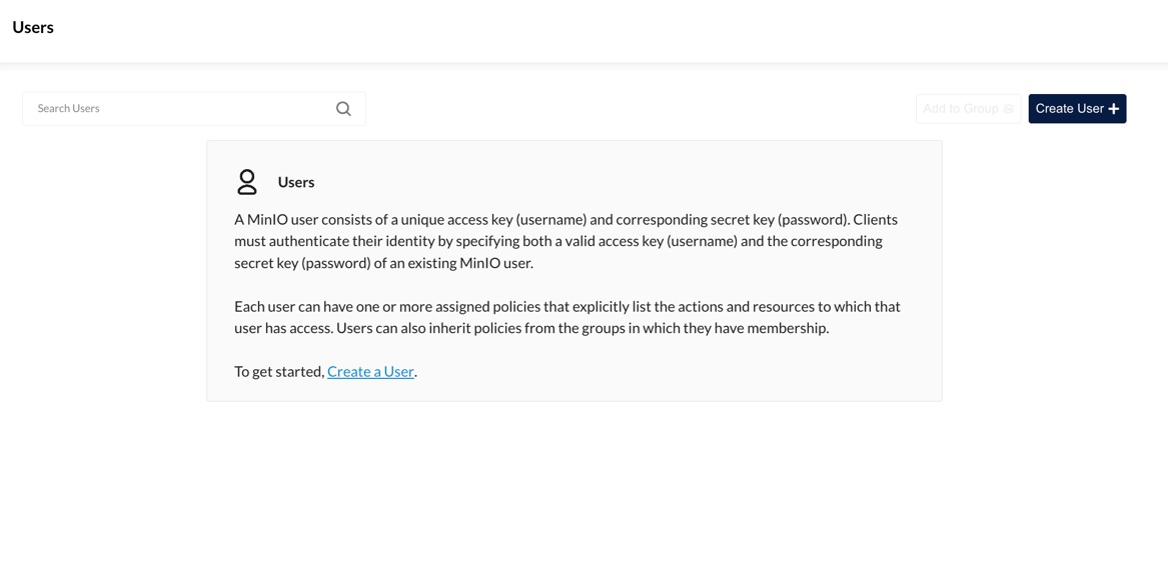
Create a user
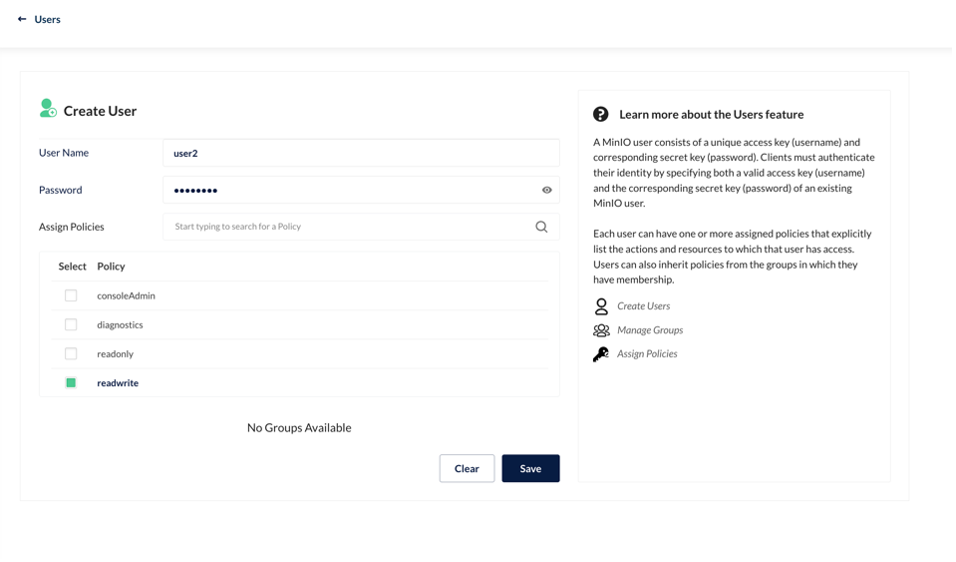

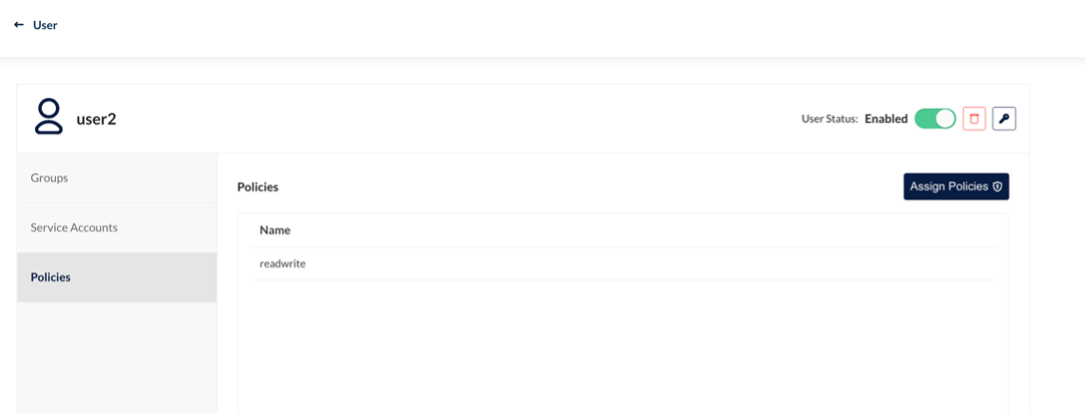
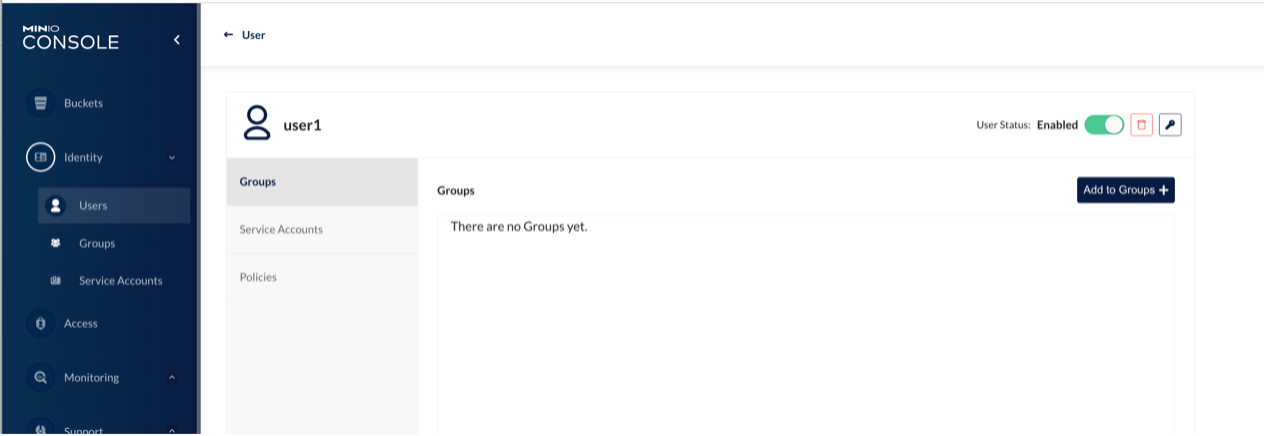
Configure user policies
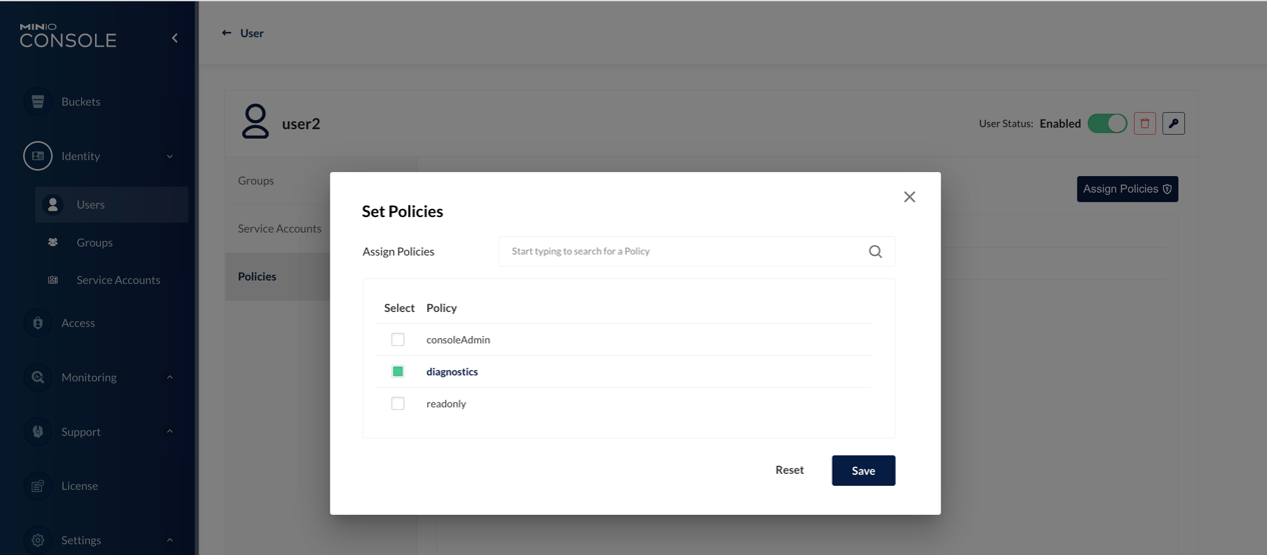
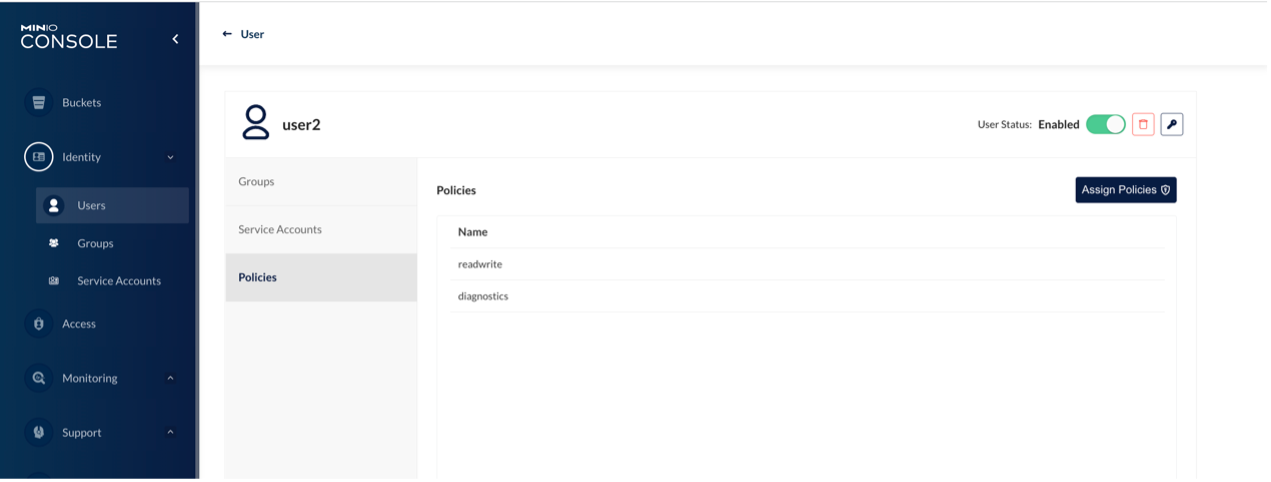
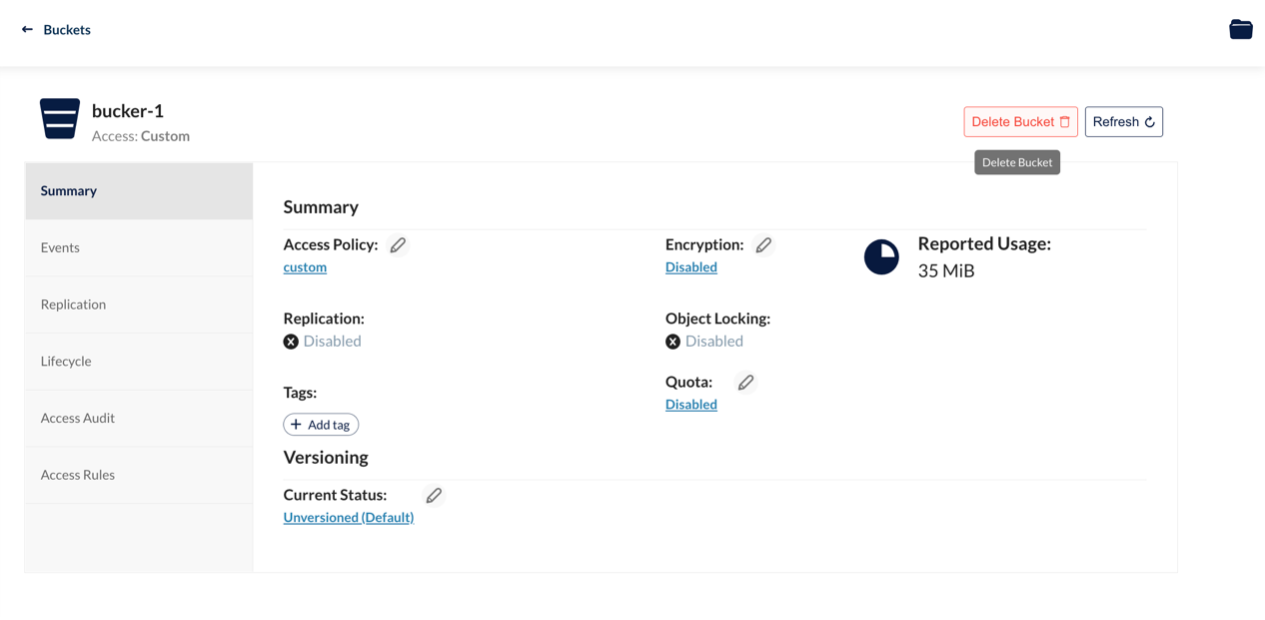
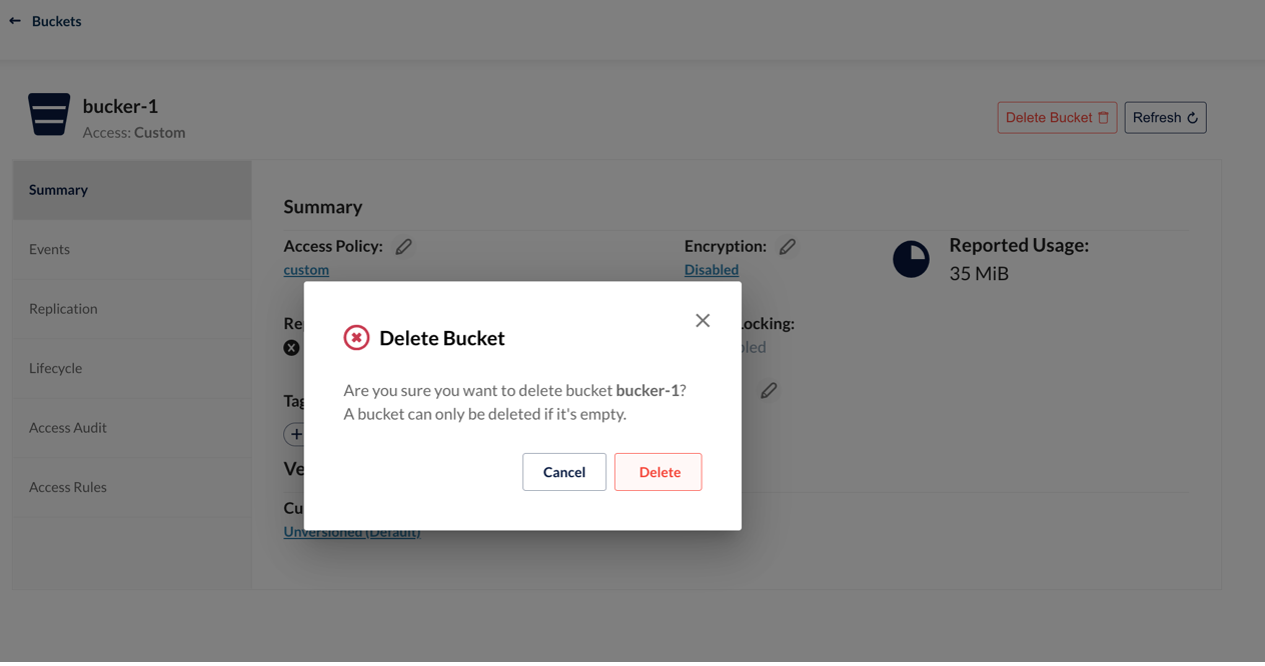
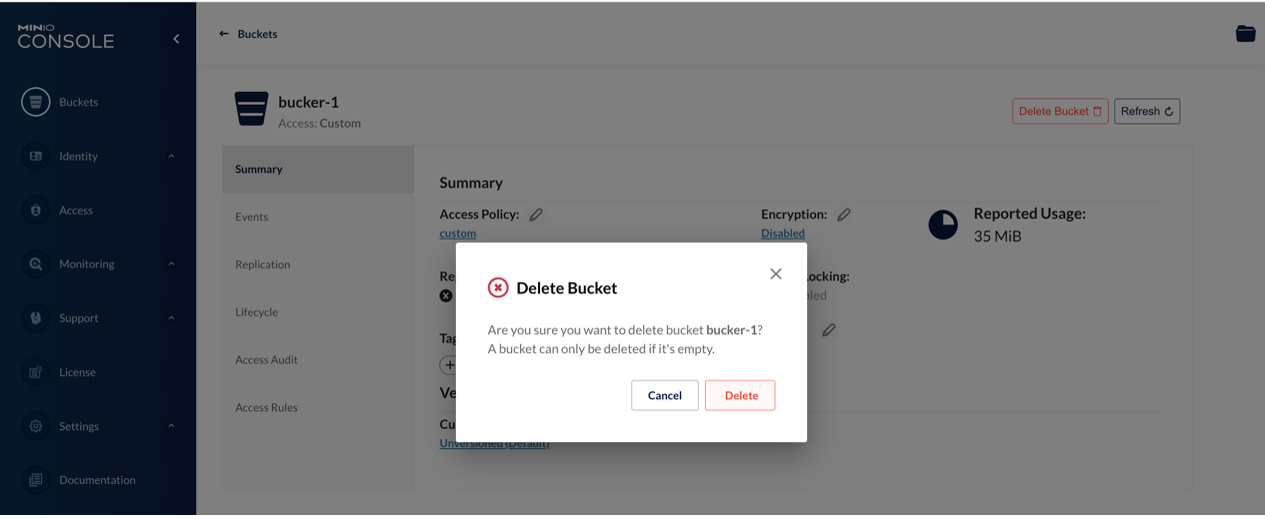
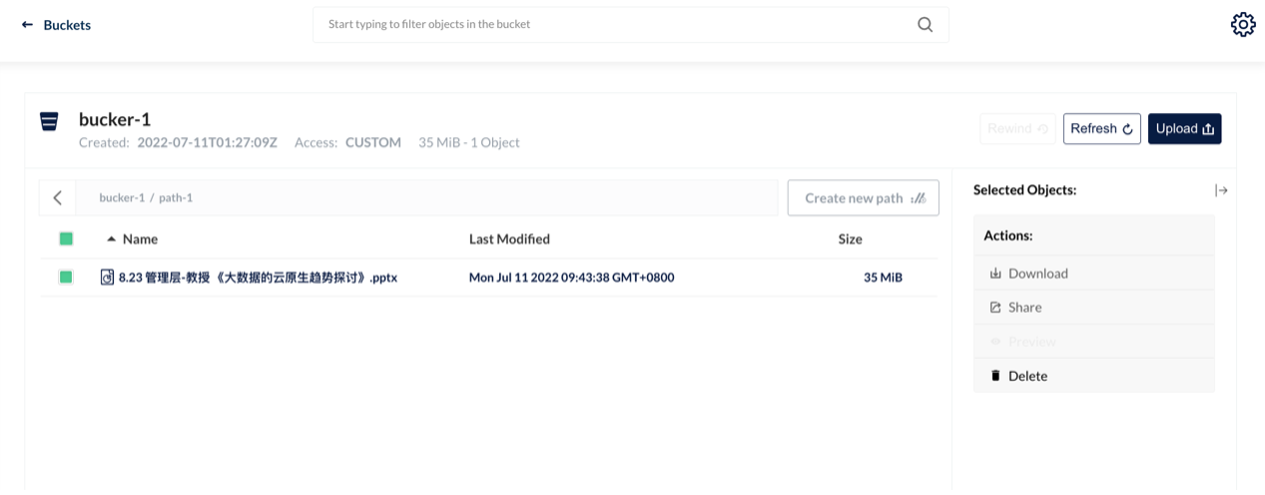
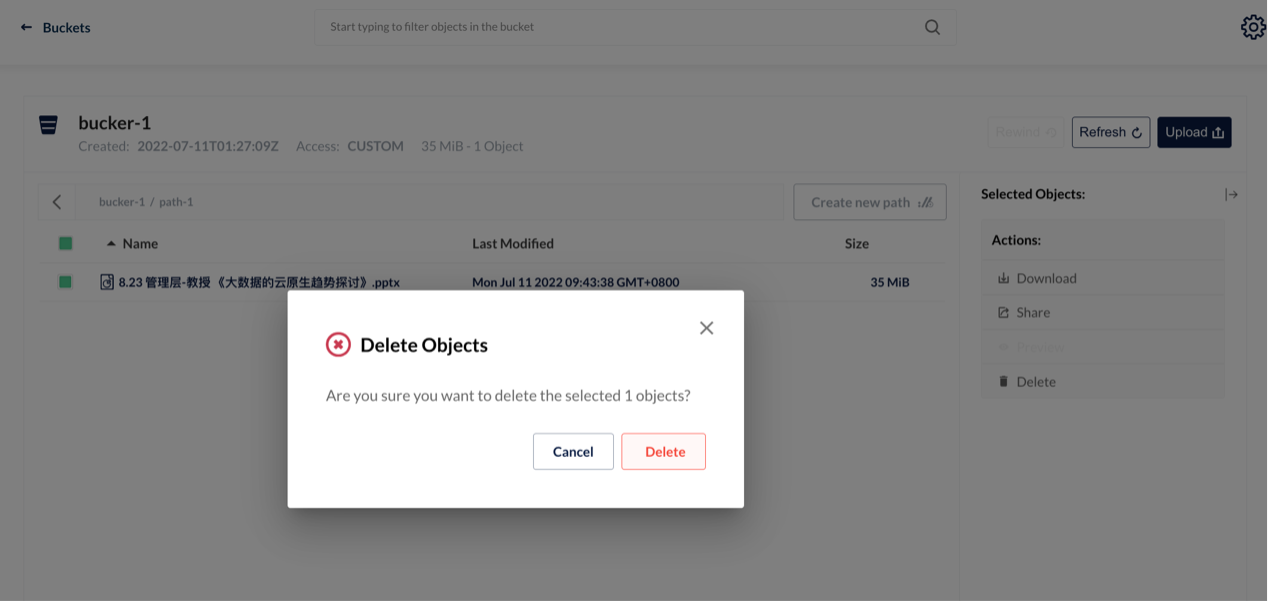
Delete a bucket

Conclusion
In this test, we successfully deployed MinIO distributed object storage on the basis of Kubernetes 1.22 and the HwameiStor local storage. We performed the basic feature test, system security test, and operation and maintenance management test.
All tests are passed, proving HwameiStor can well support for MinIO.